Adding a task
To add a new task:
- Go to the project and open the previously created board to which you want to add a task (1).
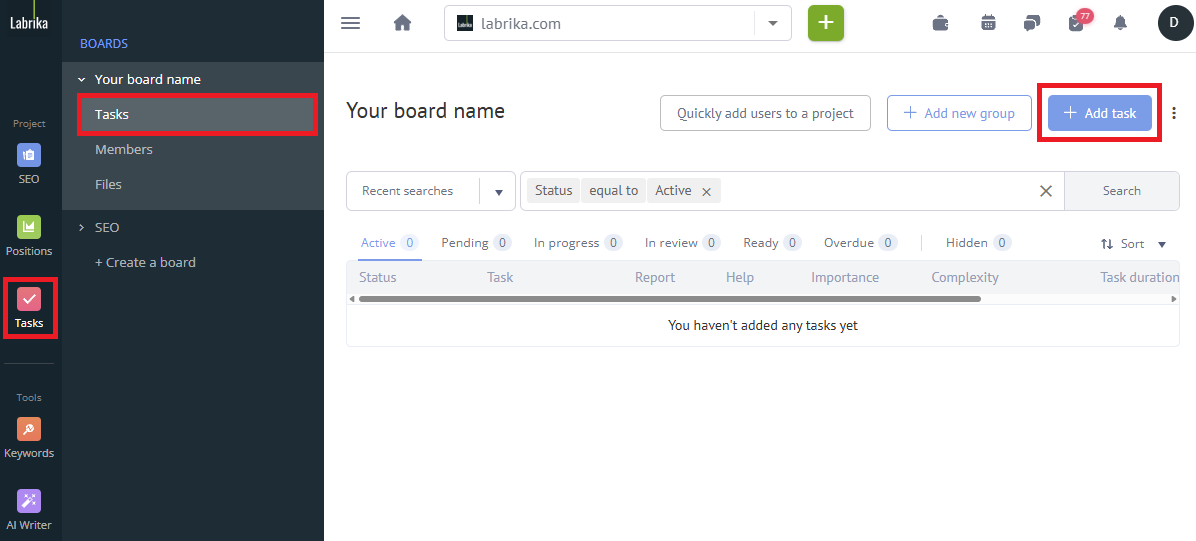
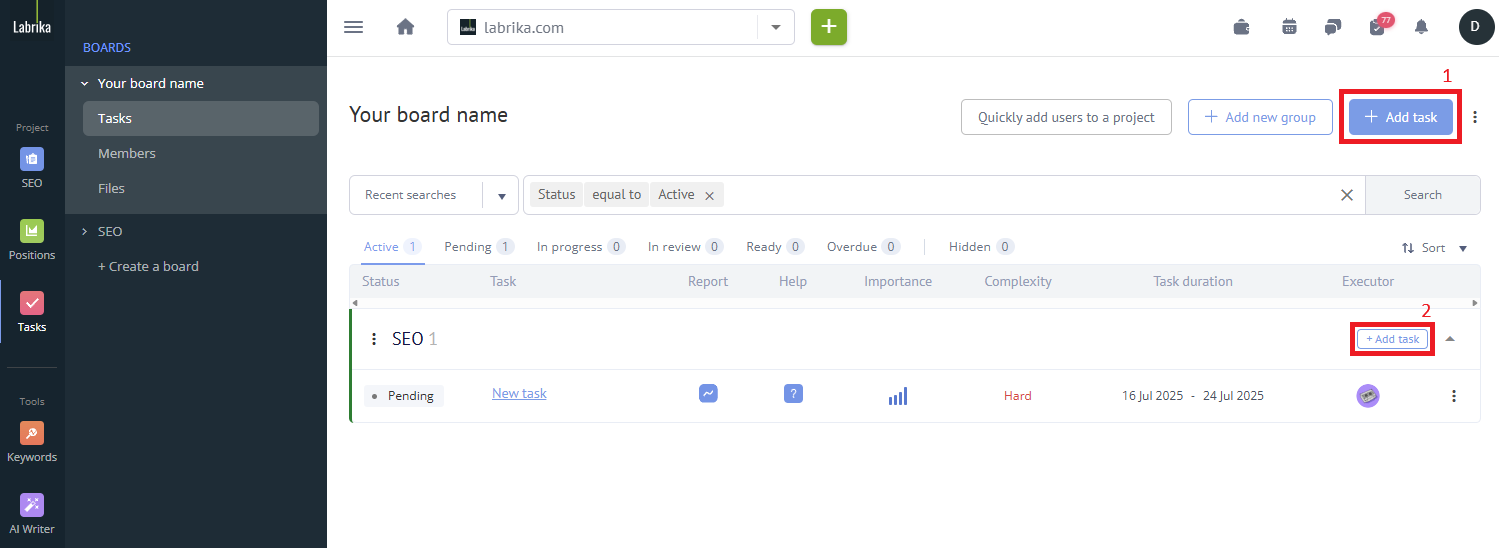
- Click the “Add Task” button (1) in the upper right corner. If you already have task groups, you can use the “plus” icon that you can see in line with the group name (2).
You can then proceed to filling in the task information, which includes several items. You don't need to fill them all in, only the parts relevant to your task.

1. Fill in the task name
Create a task name (1), you can use our article (link) on how to create an effective, clear task name.
* This is a required field.
2. Assign a group
Tasks can be combined into groups, making it easier and clearer to work through. To assign a group to a task in the drop-down list create a new group by clicking on the “+ add a new group” button or select an existing one. (3)
* This is an optional field.
3. Connect the report
If you have a website linked to your project and a full site analysis has been run on it, then you can select it in the "report" section. To block access to the report from other team members, you will need to exclude the team members from access to the task (link). (4)
* This is an optional field.
4. Add a link to help team members
Here, you can attach a link to an external resource that may help team members to work through the task. (5)
* This is an optional field.
5. Specify the due date
You can specify start and end dates for each task. This allows you to easily navigate when a particular task should be completed. Deadlines can be moved forward or backward. If the team member did not manage to complete the task in time, the deadline will be highlighted in red. (2)
* This is an optional field.
6. Specify task importance
Specify how important the task is so that the team member can quickly determine which order to complete the tasks in.
If a task is classified as high importance, then the task manager will also be notified, this way they can ensure the correct person is assigned to the task (or reassign it to someone else if not). (6)
* This is an optional field.
7. Determine the complexity
The task complexity filter can be used by the task manager to assign team members. (7)
* This is an optional field.
8. Add tags
Adding tags to a task is an important step in organizing and managing tasks. Tags allow you to systematize and classify tasks, which greatly simplifies the search and filtering of selected tasks from a large number. Tags can be used to differentiate tasks by priority, type, due date, project, or any other parameters that are significant for a specific task or organization. They help to group tasks by common characteristics, which increases the efficiency of the team and allows you to navigate a large number of tasks faster. Adding tags to tasks also contributes to more accurate analysis and reporting on the work done, which helps in improving processes and planning further actions. In general, the use of tags is an integral part of effective work with tasks and provides a more structured and organized approach to project and task management.
* This is an optional field.
9. Add team members
You can add team members to a task in three different ways. Read more about adding a team member here (link to further down the page). At least one team member must be added to a task. (8)
* This is a required field.
10. Add tags
Specify tags that will help you group tasks (9).
11. Add a description of the task
Describe the essence of the task in as much detail as possible; if necessary, add links to resources that will help solve the problem. Use our recommendations on how to compose a concise and useful description. (10)
* This is an optional field.
12. Add files
You can add any type of file that will help to complete the task. Your tariff limits the available storage. If necessary, you can increase your storage or delete unnecessary files in the "files" section of your personal account. (11)
* This is an optional field.
13. Save the task
Click the “save task” button to finalize everything and get to work!